Want to know the easiest way to roll perfect joints time after time? Here is our easy to follow guide on how to roll a good joint.
There are many marijuana products on the market these days – including edibles, tinctures, topicals, and vapable oils – but the most popular way to use cannabis remains smoking the dried flowers. When you inhale your marijuana, like when smoking a joint, the active compounds within the plant are absorbed very quickly through the lungs to provide near instant effects.
Many consumers prefer to do this by rolling their own cannabis cigarettes, known as joints. With this comprehensive step-by-step guide on how to roll a joint and a just little practice, you can roll perfect joints every time.
What Will You Need?
While all you ever really need to roll a joint is a few buds of marijuana and a rolling paper, with a few extra supplies, you can craft top-notch joints for a more pleasurable smoking experience.
- Dried Cannabis Flower: This will be the material used in your joint.
- Grinder: While optional, a grinder will ensure a more even burn for your joint and will make the joint easier to roll.
- Joint Paper: Available in a number of sizes and materials like hemp and unbleached paper.
- Card Stock: Used to create the “crutch” or mouthpiece for your joint.
- Pen: Or a similarly shaped object to help you pack the joint.
How to Roll a Joint
Here is the simple six-step process for the easiest way how to roll a joint:
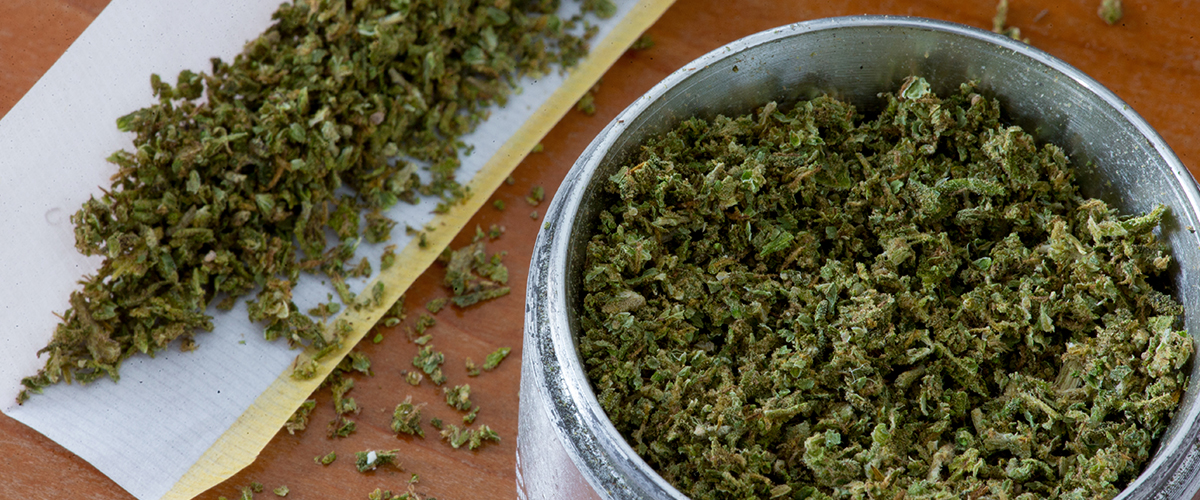
- Break up your marijuana flower with a grinder or by using your fingers.
- Make a crutch (filter or tip) for your joint from a piece of thin card stock paper.
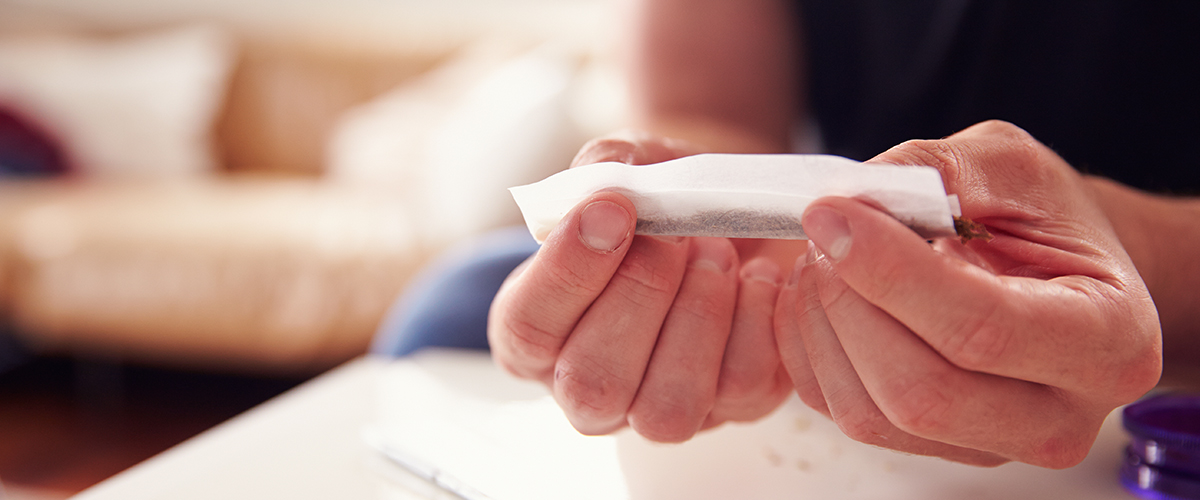
- Place your freshly ground marijuana flower in the joint paper.
- Roll your joint with your fingers.
- Lick and seal your joint closed.
- Light the tip of your joint, turning it over in the flame.
If you’re a complete beginner to smoking a joint and are looking for a bit more guidance, keep reading for a more detailed explanation of each step for how to roll a joint.
Keep in mind that learning how to roll a great joint can be frustrating and is likely to take a bit of practice to hone your craft. Follow this easy six-step guide, and you’ll be properly rolling joints in no time.
Break Up Your Marijuana
First, you will want to break up your dried cannabis flower. This can be done with your fingers, with scissors, or with a grinder. Using a grinder more evenly breaks up your marijuana, which will help your joint burn more evenly and consistently. For many cannabis consumers who smoke joints, grinders are considered a straightforward yet crucial tool.
How much cannabis should you break up for your joint? That depends on how much you want to smoke.
A study published in 2016 concluded that the average joint is 0.32 grams. This number has been contested by some in the cannabis community, and it may not mean much to you personally. When deciding how much marijuana to add to your joint, take into consideration your own tolerance for cannabis and the level of effects you are looking to achieve. Joint rolling papers come in a variety of sizes, giving you the freedom to roll the joint size you prefer.
Make a Crutch For Your Joint
What is a crutch? Also known as a filter, a crutch is essentially a mouthpiece for your joint.
Why use a crutch when rolling a joint? While a crutch isn’t necessarily essential, it reinforces a joint’s mouthpiece and makes it easier to hold. Crutches increase airflow in your joint, allowing an easier draw when taking a hit. You also won’t burn your lips as easily, you can smoke the entire joint, and you won’t get bits of marijuana in your mouth when drawing during a hit. While a crutch is commonly called a joint filter, it doesn’t actually effectively filter the smoke.
Crutches can be purchased or created. At many smoke shops, you can buy either pre-rolled crutches or perforated cardboard strips designed to be folded into crutches. You can even buy reusable glass tips that are used to crutch joints.
To make your own crutch for your joint, start with a thin card stock paper, like a business card, index card, or the cardboard flap to your rolling papers. Rip off a rectangle shaped piece the width of your desired mouthpiece. Start with a few “accordion” folds at the end of the cardboard, then roll the material to the desired thickness of your joint.
Place Marijuana in Joint Paper
Put your rolling paper on a flat surface in front of you with the adhesive strip facing up on the side furthest from you. Place your crutch where your joint’s mouthpiece will be, and then use your fingers to fill the rest of the rolling paper with your pre-ground cannabis.
Be sure not to overfill it since adding too much can make your joint difficult to close. If you find yourself with excess paper, you can trim it off the side without adhesive before rolling your joint to ensure you aren’t smoking extra paper.
If you want to roll a cone-shaped joint, add less marijuana near the joint’s mouthpiece, and more towards the tip, tapering it as you do. This will help your joint form a cone naturally.
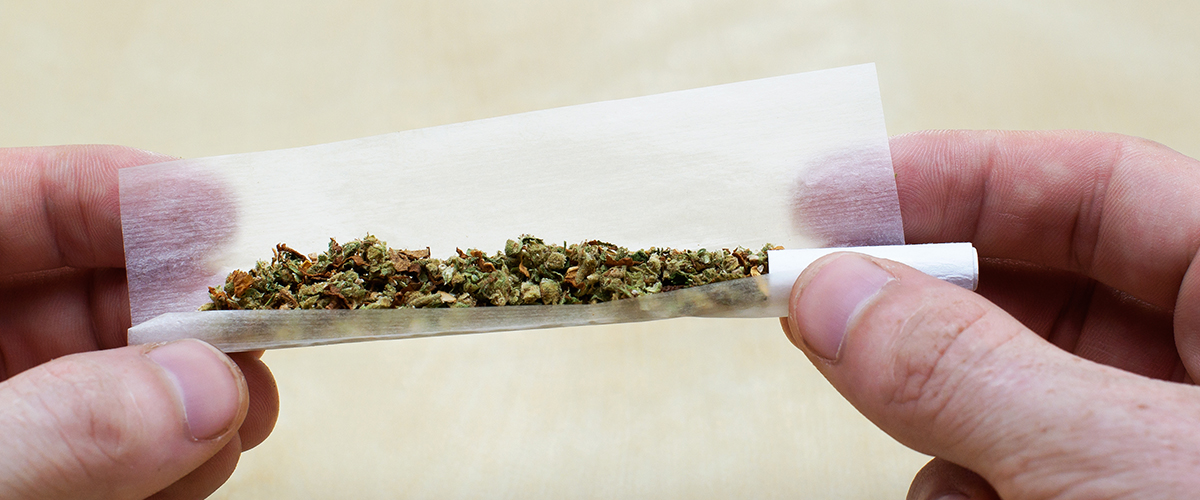
Roll Your Joint
Once you have your crutch and ground marijuana in place, with your thumbs and index fingers pinching the rolling paper, roll the joint up and down to evenly compact the marijuana into a rolled shape. Don’t worry if some falls out as you roll your joint. It can be added back in or saved for later.
Take the time to work the ground marijuana into a cylinder shape to make it roll easier and smoke more evenly. If you roll your joint too loosely, it will burn quickly and unevenly. If you roll it too tightly, it may be difficult to take a hit. Once the joint seems smooth and even, tuck the side of the rolling paper closest to you into the joint and roll the joint up towards the adhesive strip.
Lick and Seal Your Joint
Many rolling papers feature a sticky substance on one edge that when moistened helps provide a seal. After you’ve rolled your joint, you’ll want to lick the adhesive strip and seal your joint by pressing the glue side onto the joint. Starting with the crutch or mouthpiece end, begin sealing the joint with even pressure.
Once the joint is sealed along its seam, take a pen or similarly shaped item and gently pack the end of the joint you will light until it is firm. If any marijuana fell out while you were rolling your joint, you can add it back into your joint here if you’d like, pushing it in with the tip of the pen. If you’re out and about and a pen isn’t available, good solutions for packing the end of the joint can be a small stick, a key, or the tip of a shoelace or hoodie drawstring.
Twist the extra paper at the end to seal your joint and keep your cannabis flower from escaping. This is a particularly helpful step if you’re not going to enjoy the joint right away. Sit back and admire your work. That’s how to roll a joint.
Light Your Joint
Don’t light your joint like a cigarette, inhaling as you ignite the tip. Instead, to light your joint, hold a flame to the tip of the joint, and turn it over in the flame to create an even “cherry” or burning ember at the tip of the joint. Move the flame closer to the joint until a full, slow-burning red cherry develops. When the cherry is ready, begin smoking your joint.
Learn More About Consuming Medical Cannabis
Need cannabis to roll up in your joints, learn how to grow your own, or read our guide to finding the best local marijuana dispensary. You can also learn even more about grinders and the important role they play in smoking cannabis and properly rolling a joint.
You can always discover more about medical marijuana on our Cannabis 101 page.